The Ultimate Guide to Garage Door Opener Installation
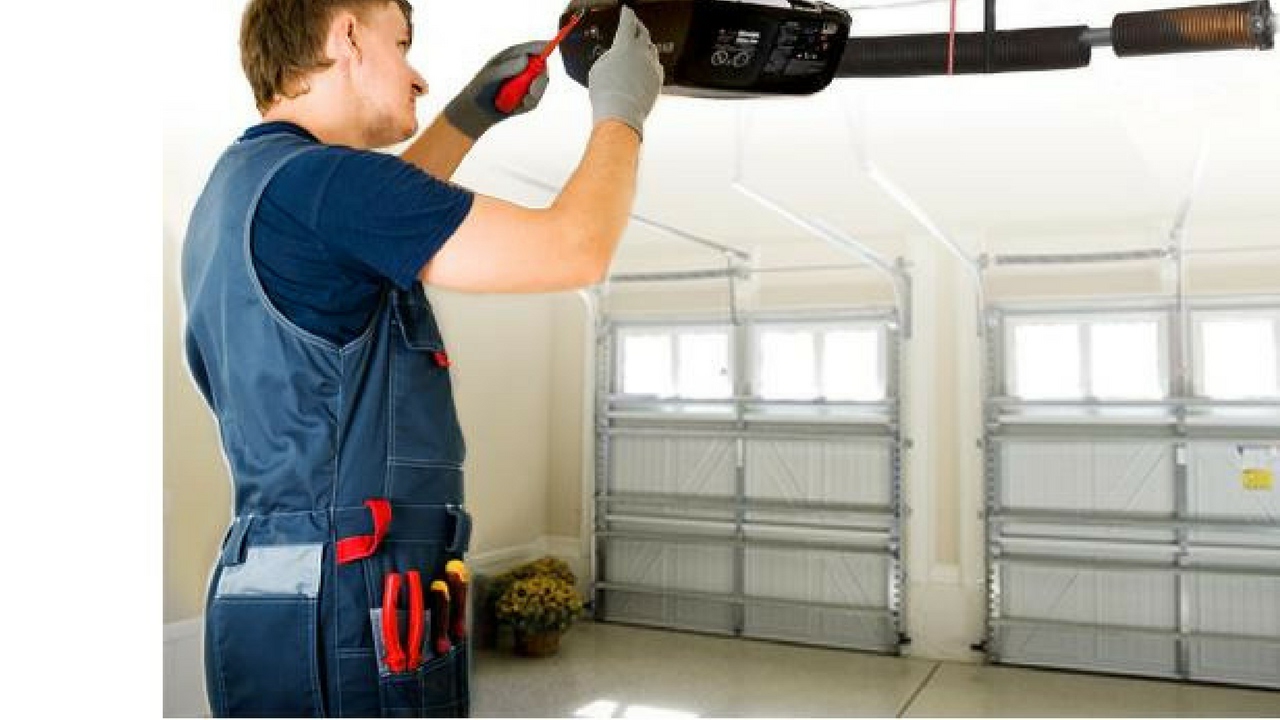
A garage door opener can be a game-changer when it comes to convenience and security for your home. Installing a garage door opener might seem like a daunting task, but with the right tools and knowledge, it can be a manageable DIY project. In this guide, we'll walk you through the steps of garage door opener installation, covering everything from preparation to testing. Let's get started! Step 1: Gather Your Tools and Materials Before you begin, make sure you have all the necessary tools and materials on hand. Here's a checklist of what you'll typically need: Garage door opener kit (including motor unit, rail, and remote controls) Mounting hardware Power drill Screwdriver set Stepladder Measuring tape Pencil Adjustable wrench Safety goggles Step 2: Prepare Your Garage Door Start by preparing your garage door for the opener installation. Ensure the door is in good working condition, and the tracks are clear of debris. If your garage door is old or damaged, consider repairing or replacing it before installing the opener. Step 3: Choose the Right Opener There are different types of garage door openers available, such as chain-driven, belt-driven, and screw-driven. Choose the one that best suits your needs and budget. Consider factors like noise level, maintenance requirements, and lifting capacity. Step 4: Install the Opener Follow these general steps for installing a garage door opener: Assemble the Opener: Carefully follow the manufacturer's instructions to assemble the opener components, including the rail, motor unit, and other hardware. Position the Opener: Use a stepladder to position the opener on the ceiling of your garage, ensuring it's centered and securely mounted. Attach the Rail to the Header Bracket: Secure the rail to the header bracket on the garage door using the provided hardware. Install the Motor Unit: Attach the motor unit to the ceiling bracket and connect it to the rail. Connect the Door Arm: Attach the door arm to the garage door and the trolley on the rail. Install the Sensors: Mount the safety sensors near the bottom of the garage door on either side. These sensors prevent the door from closing if something is in the way. Connect the Wiring: Follow the wiring instructions to connect the opener to power and any wall controls or safety devices. Step 5: Test the Opener Once everything is installed, test the garage door opener to ensure it operates smoothly and safely. Open and close the door several times using the remote control and wall button. Make any necessary adjustments to the force settings or limits. Step 6: Finalize Installation Secure any loose wires and ensure all components are properly tightened. Follow the specific instructions in your opener's manual for any additional setup steps or maintenance recommendations. Conclusion Installing a garage door opener can enhance the functionality and security of your garage. By following these steps and taking your time, you can successfully install a garage door opener as a DIY project. However, if you're unsure about any step or encounter difficulties, don't hesitate to contact a professional installer for assistance. Enjoy the convenience of effortless garage access with your newly installed opener!